Pages

Sunday 6 September 2020

Pop up cards


I recently bought Crafters companion pop up box die set and am loving creating different designs. Here are a few recent makes


Wednesday 15 April 2020

Blog Catch Up


Hello folks seems ages since I have been on here, February Classes were cancelled due to my new shift pattern and since March the classes have been cancelled due to the Coronavirus. 

I am a keyworker for Emergency Services so still working 12hr shifts in the control room 4 on 4 off.  

Here are some cards I have been making on my days off work away from class projects...


Mum's Mother's Day Card

This was made with some lovely Stampin' Up! balloon punches double layered after punching some holes in them with my Crop-a-dile hand punch machine to add a colour underneath.  The Buntin was made with a Gemini Die from Crafter's Companion and the greeting was a Stamp from a Stampin' Up! set.  Teamed with some WRMK paper pad it made a pretty card and Mum loved it.


Rectangle box card

The first card was one I created with a variation of Stampin' Up! stamp and die sets and a few odd makes of stamps for the car and flags.  I used a template off YouTube which I can not remember who posted it now as a rectangle box card which folds flat to post.  

The top one was my first made and after showing it to my friend at work he asked if I could make one for Father's Day which is the second card made.


Stencils
The cards and toppers above was me and Mum playing with stencils and inks before the lockdown started when we had a craft get together.


Jacky's 60th Birthday 

This is a card I made for my friend Nikki for her mum's birthday used with Number of Years stamp set by Stampin' Up! with matching dies for the numbers.  It is simple yet pretty and she loved it.  


Grace's 21st Birthday

This was a concertina card I made for my friend Rachel's lovely daughter Grace for her birthday.  As it was lockdown Rachel and Andy made her a special tea party and the table looked amazing like something from Betty's Tea Rooms and although lockdown she had a lovely day.


Connie Stewart Design Cards


The last set of cards are made with the Free as a bird stamp set from Stampin' Up! as designed by Connie on her YouTube channel.  I love re-creating her cards she always has some super ideas.  A few different colour ways shown above.

I have since made a full rainbow of coloured variations of the main card but not the toppers so ready to make a card up when an occasion comes around.


Well that was certainly a bumper Blog Update from me with all the different creations I have been making whilst on my days off.

Hope you have enjoyed my cards.

Keep Crafting

Jo. xx


Tuesday 28 January 2020

Tuesday Class


First Class of the New Year today and was lovely to see everyone after the Christmas Break..


Our first project is this lovely 3D folded basket which could be filled with candy as a gift basket or used on a desk for stationery or table decoration with adapted decorations for the event.


It is really easy to make you just have to have a sized piece of card that is divisible by 3 to get a naughts and crosses style crossed section in the middle to make the first shape.


We used a 12 x 12 piece of card and scored at 4 and 8 on one side then rotate once and repeat, then simply score each corner square from the inside corner to the outside corner and crease all the folds and fold in as in picture.   Cut 4 matching 9cm squares of fancy paper for the middle sections and then 2 each of different patterns for the corner pieces (corner pieces are cut diagonally in half to fit in the scored triangle corner pieces of card).  Before you assemble punch a hole in each folded corner piece and group the holes together to fix.  You could easily tie some pretty ribbon through the holes instead of using a loop ring as we did.


Our second card is a simple but effective easel card, I originally printed some little note cards with a Christmas craft magazine kit that had a cd with it I got for a gift off mum.  After planning to make a card with he notelets I decided it was too small so chopped a piece off and used both pieces as the background paper on this folded 6x6 card base which was simply scored on one half to create the easel shape.  The lovely caravan was off the same cd and we layered it up with Stampin' Up! layering oval dies to make the colourful layers on the topper piece.  

One of my lovely ladies Kay wanted her card for a caravanning male friend so we changed the flower background for some fancy deckchair style stripes and it looked great.


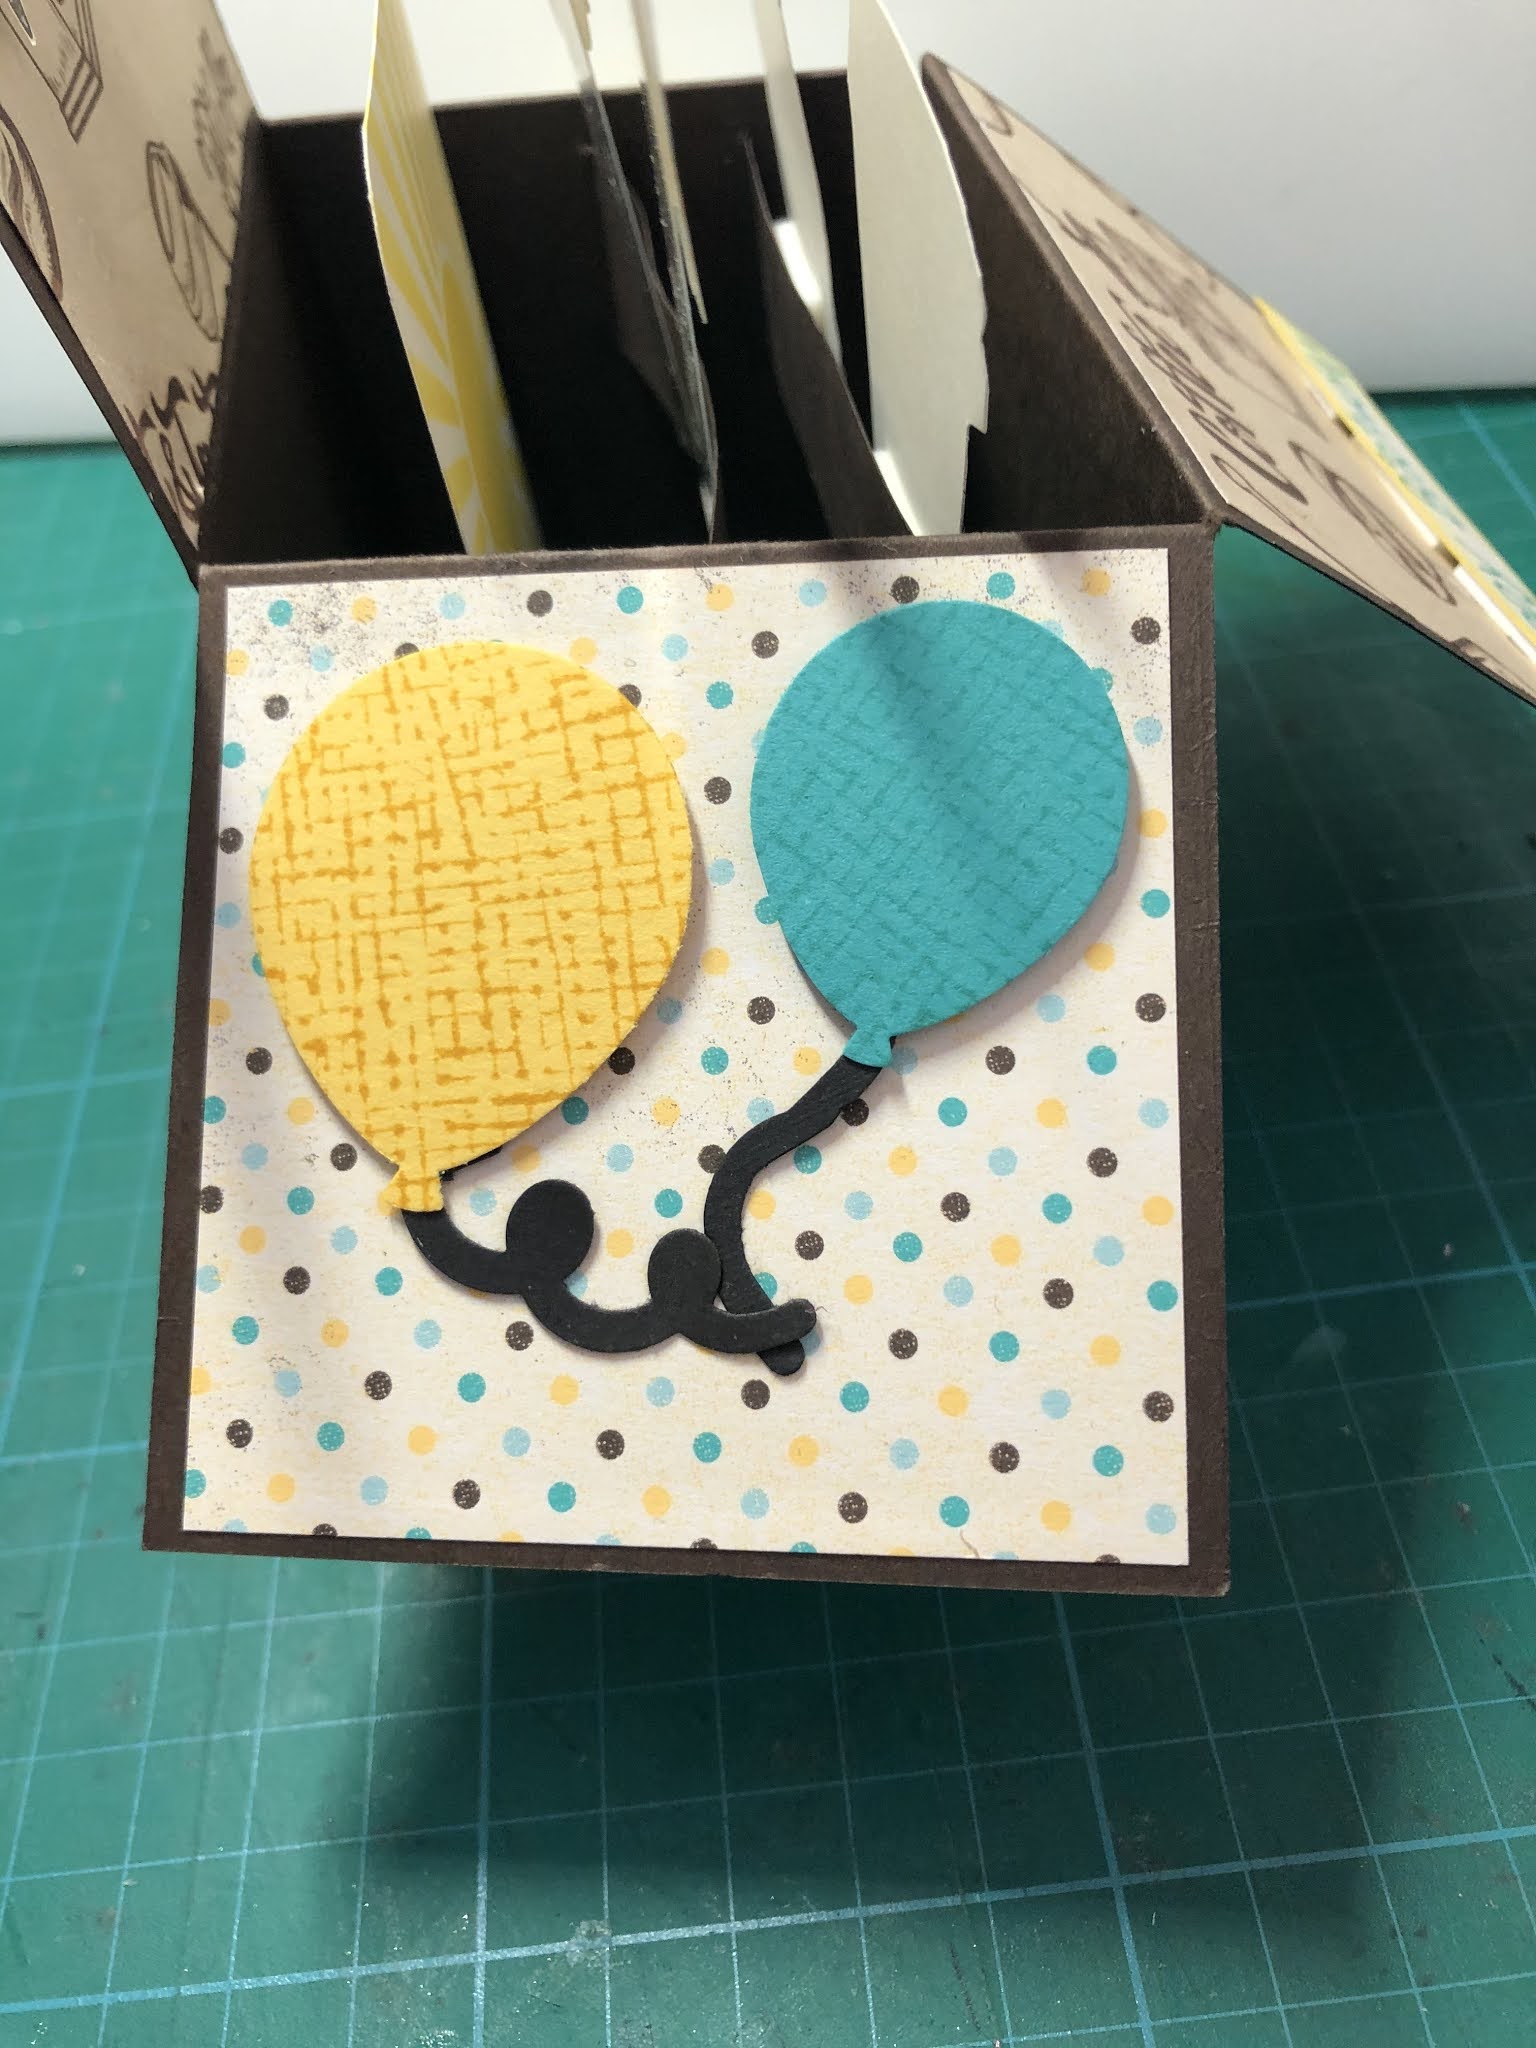
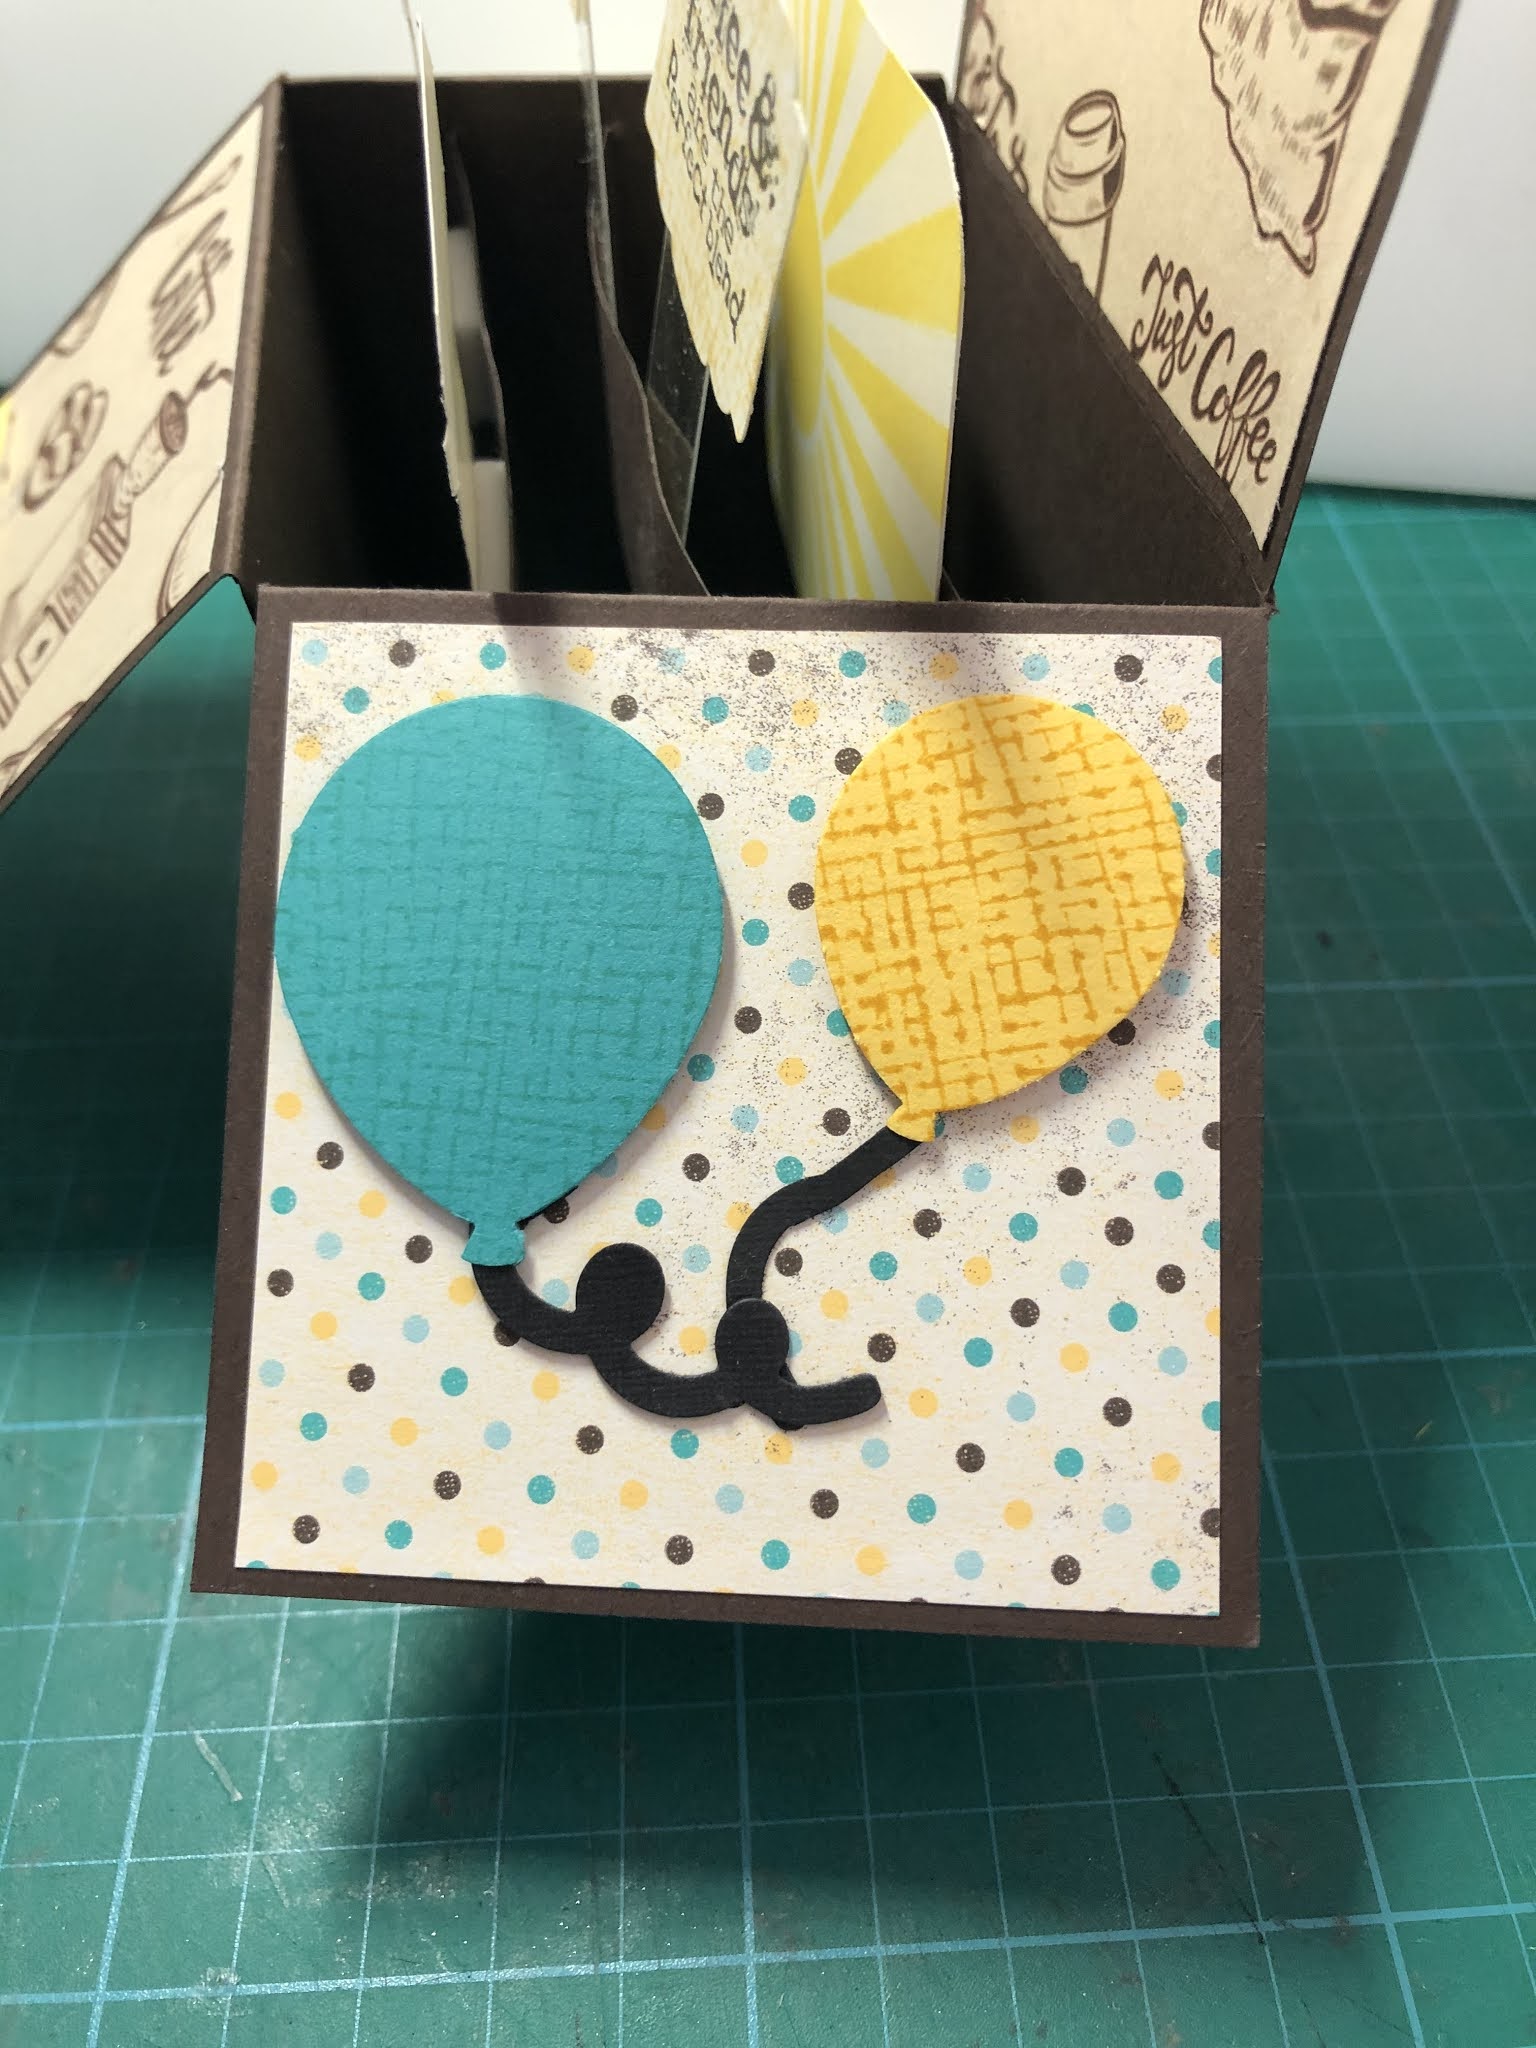
Our last card was made with my Christmas magazine kit off mum again and is this lovely men's shed card.  The door is embossed and with a fancy brad as a door handle looked great with its sign post too.  

The top one is a variation that I made for my pal Rachel's hubby Andy for his birthday (we share the same birthday on the 15th January) and he loves pottering in his shed so I made this card for him then decided to make another for class ladies to copy.  The stamped images were stamped with the Stamperatus and stamped onto watercolour card and coloured using water colour pencils and penned with a blender pen to make them look like we had painted the items.

The bottom card was Shirley's fab shading on the door to make it look more 3D she shaded the planks and coloured in the hinges, I will be nicking that idea next one made ha ha..  On using the kit at class I noticed a small watering can die that I missed the first time round so we cut it out and squeezed it in.

Another lovely crafting get together with cuppas and lemon drizzle or choc fudge cake to keep us going.


Thank you for stopping by and hope you enjoyed seeing our creations this class.

Happy Crafting

Jo. x

Tuesday 10 December 2019

Tuesday class


Our first card is made from the contents of a lovely kit from Crafters Companion using Aqua pens to paint the stamped image and the die cut word.  There are words cut out in the kit but I needed 8 for my class so used a Stampin' Up! Die for the greeting.  I love the colours and layers of this card it is so bright and cheery.  I made the outer border on my trimmer and ran it through an embossing folder to make it textured.


Our second card was one I made for my friend Tracey"s boyfriend for his birthday.  I liked it so did kits for my ladies  to make.  The stamp set is called Geared Up Garage by Stampin up.  It is an easy card to make but looks really stylish with the fancy folded inner.  

The first card is the sailing theme made for Ian and the next set is the one we made at class with the motoring stamps.


  1. Our last card is made from the Crafters  Companion kit again and used the Aqua pens as paint by mixing with small amount glycerine and sponged onto the background card.  The lovely borders are made with a border punch by Stampin' Up! which finishes it off with style.


Here are the lovely variations of colouring my ladies did with the butterfly card they all look so different and great


After class we went for an afternoon Christmas Tea Party at our village cafe which was wonderful.

Thank you for looking at my blog today I hope you liked the cards we made.

Happy crafting 

Jo. xx